

The week after the degree show comes down is oddly quiet. The work is wrapped, the studio smells of bubble wrap, and the adrenaline that carried you through the build has nowhere left to go. What happens next is mostly admin — and that admin decides whether anyone outside your course ever sees the work. Thirty days is enough to do it properly. Here is how to spend them.
Days 1–3: Photograph everything before it goes in the van
If you were organised, you shot the work on the wall during the show. If you were not — and most people are not — arrange it now, while the pieces are still unwrapped and undamaged.
A university photography room, a local studio, or a friend with two strobes will all do. Set the lights at roughly 45 degrees to the work on both sides, and keep them the same distance away so the illumination is even. If you are working with daylight instead, a north-facing wall plus a large white board as a reflector is genuinely good enough for most two-dimensional work.
Shoot flat-on for paintings and prints. Move slightly off-axis for anything with surface texture, glaze or relief, so the light rakes across and shows what the object is actually doing. Include:
- Full-frame shots of each finished piece, front and back
- Two or three detail crops showing texture, stitching, brushwork or joinery
- Installation views of the whole show, with the space visible
- A slow, steady phone video panning the room — useful later for social media
Include a grey card in the first frame so you can correct colour accurately later. Shoot RAW. Name files in a way you will still understand in five years: surname_title_year.jpg. Back everything up to two drives, and leave one of them somewhere other than your flat.
Days 4–10: Edit hard, then edit again
Most graduate portfolios are twice as long as they should be. A curator or studio director will give your site ninety seconds on a first visit. Twelve to twenty strong works is a serious portfolio; sixty is a storage problem.
Cut anything that only makes sense next to the piece beside it. Cut the work you made to satisfy a tutor rather than yourself. Keep the pieces where the idea, the making and the photograph all hold up.
Check colour on a decent screen, and resist the urge to over-sharpen. Export a full-resolution master for each piece and a web version at around 2000 pixels on the long edge. Keep the crops consistent across a series — if one painting is shown edge-to-edge and the next floats in white space, the sequence looks accidental.
Days 11–17: Build the site around the images
You do not need a bespoke website. You need a fast, clean one that loads on a phone in a gallery with poor signal. Squarespace, Cargo, Format, or a hand-coded static site all work. A simple portfolio template, a domain with your own name, and a fortnight of patience will get you further than six months of design indecision.
Structure it so a stranger can find things without thinking:
- Home: six to eight of your best images, and one line about what you make
- Work: projects grouped as series rather than one long scroll
- About: a photograph of you, a short statement, your location
- Contact: an email address you actually check, plus Instagram if you use it well
Compress every image so pages stay light. Write alt text for each one — it helps accessibility, and it helps search. Test the whole site on your phone, on a laptop and on a friend's ancient tablet. If a page takes more than a few seconds to appear, fix it before you send a single email. A slow site undoes good work faster than a weak one.
Days 18–22: Write the words that do the heavy lifting
Captions are not decoration. For each work, give title, year, medium and dimensions in centimetres, using height × width × depth. Consistency matters more than flair here.
The about page should be written in the first person and run to roughly 150–250 words. Say where you studied, what you make, what you are working towards and where you are based. That is the information people are actually looking for before they reply to you.
For the statement itself, write a plain draft, then read it aloud. Anything you would not say to someone standing in front of the work should probably come out. Phrases like "explores the liminal space between" do very little; a sentence about what you physically do in the studio does a great deal. Ask one trusted person — not five — to read it for clarity. Then leave it alone for two days and read it once more before publishing.
Days 23–27: Research the rooms your work belongs in
Generic mass mail-outs do not work. Targeted ones do. Spend these five days finding out who else is making and showing work like yours.
Start with regional public galleries and museums, then artist-led spaces, project rooms, and studio groups with associate or graduate programmes. Look at degree show catalogues and the credits on exhibitions you admired this year. Open call listings, arts newsletters and local authority arts officers are all worth checking weekly. If a gallery's programme has nothing to do with your practice, cross it off.
Build a spreadsheet with columns for name, contact, what they show, submission policy, and any deadline. Aim for around twenty entries, split into two tiers: ten places that are genuinely realistic for someone at your stage, and ten that would be a stretch. Note the name of a specific person wherever the website gives you one.
Days 28–30: Make contact without grovelling
Three days of emails, sent properly, will outperform three months of hoping someone finds you.
Keep each message short: who you are, where you studied, one sentence on what you make, and a link to one specific project rather than your whole site. Say why you are writing to them in particular. Do not attach large files. Do not ask for representation in the first line. Do not apologise for getting in touch.
If there is no reply, follow up once after a fortnight, briefly and without guilt. A polite second note is professional; a third is not. Log every message in your spreadsheet so you know when to follow up and who has already seen your work. When you go to private views, introduce yourself, look at the work properly, and say something specific about it. Sign the guest book. Send a short thank-you note afterwards if you spoke to someone at length.
Day 31 and beyond: keep the small habits
Nothing here needs to end when the month does. Set aside an hour a week to photograph new work, update the site and send one considered email. Put a reminder in your calendar for open calls you want to enter before the deadlines creep up. Revisit your portfolio every season and remove the weakest piece — it will always be there, and cutting it is the fastest way to improve the whole.
Graduating is not the end of a period of making. It is the point at which the work starts being seen by people who have no obligation to be kind. Treat that as useful information rather than a verdict, and keep going.
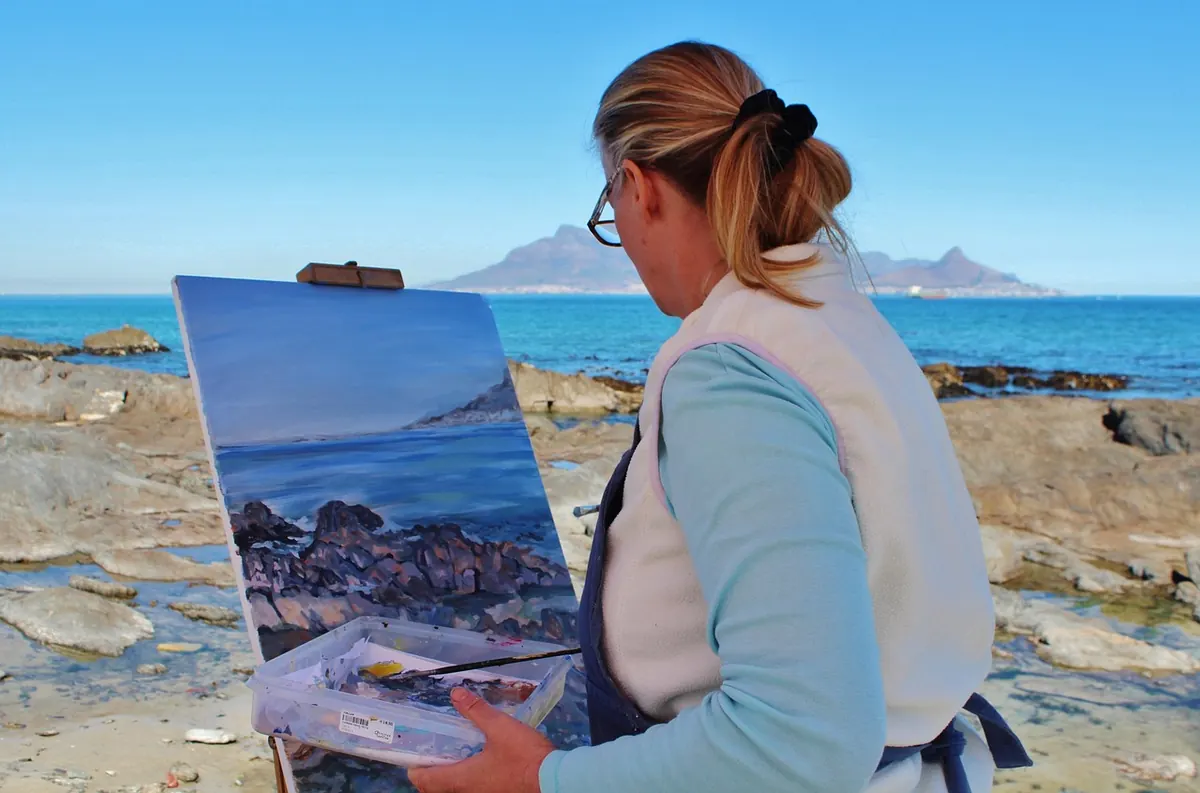
Photo: Dedy_Timbul / Pixabay